
I had taken photo's as I went along while I was making the aforementioned money wallet with the intention of doing a tutorial at some point in the future - when I had a bit more time. I have since realised that this is never going to happen so there's no time like the present!
As I was going through the photo's however I noticed a small descrepancy which I'll come to later!
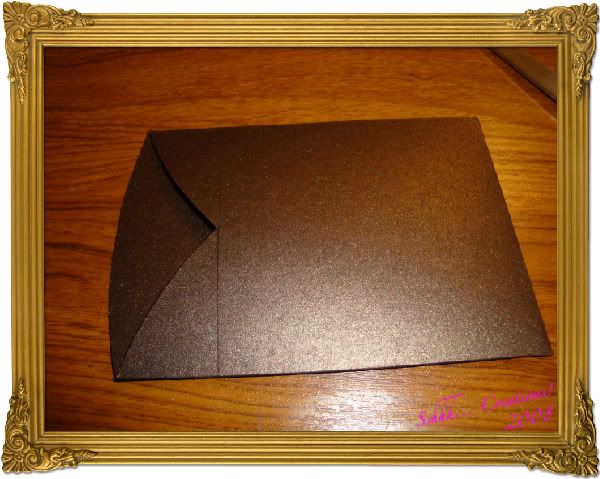
So without further ado, here's the tutorial...
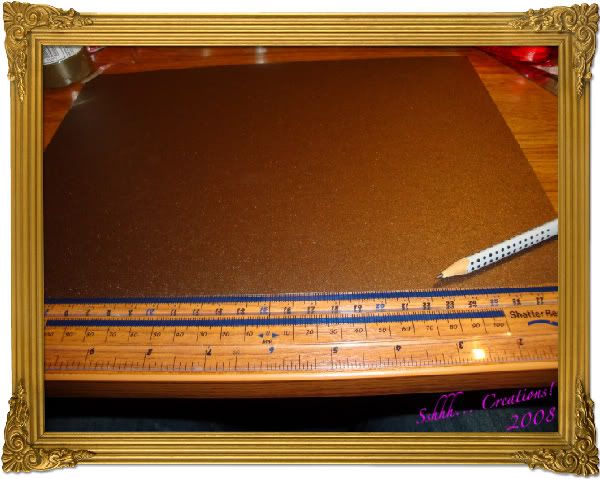
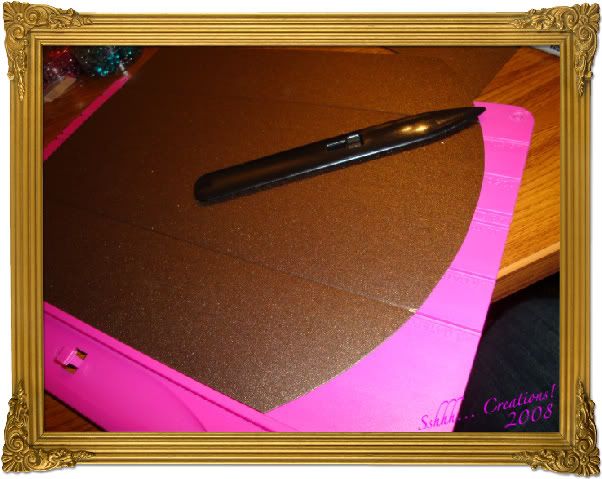
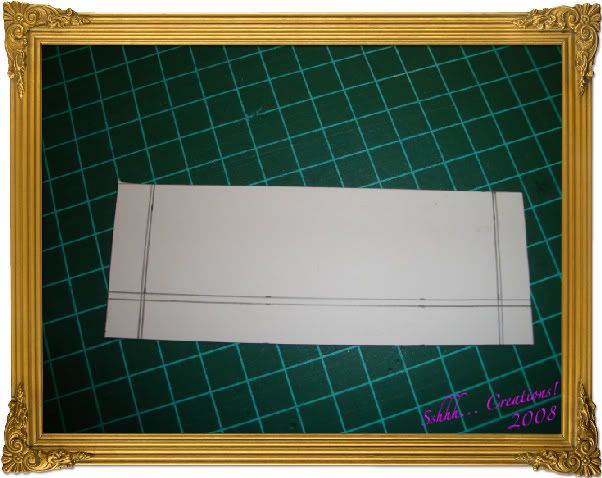
1. For the outer sleeve take an A4 sheet of card to match your greetings card (if applicable) and measure 22cm up each side and leave a small mark with a pencil.
1. 
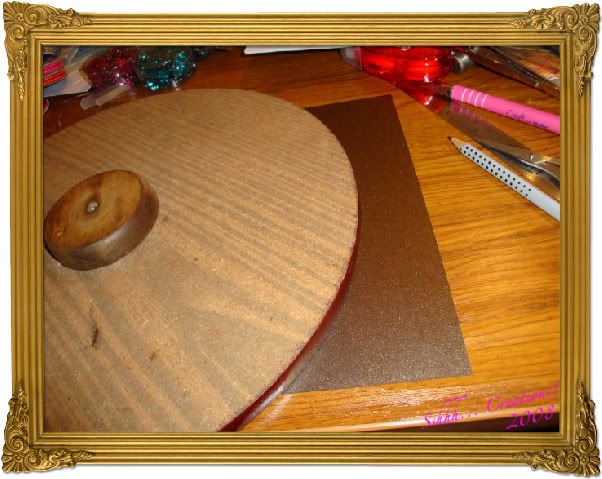
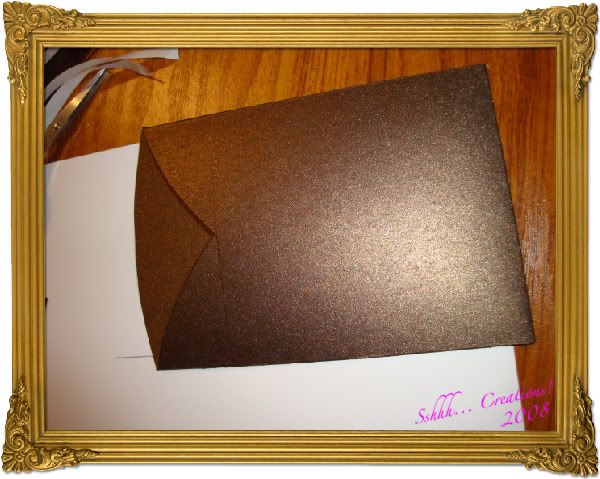
2. Now take something large and round like a dinner plate (or in my case the top of a small round side table!) line it up with your marks and draw around it (curving into the smallest measurement)
2. 
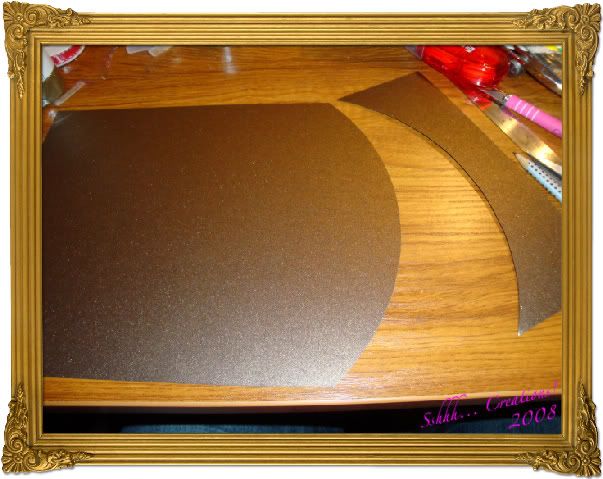
(I was going to show a picture of the drawn line here but as I was using dark card it didn't show up in the picture very well - but you'll see it in the next instruction)
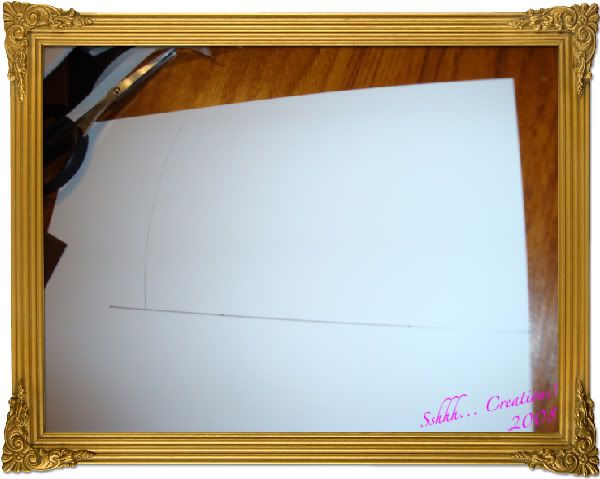
3. Carefully cut around the curve
3. 
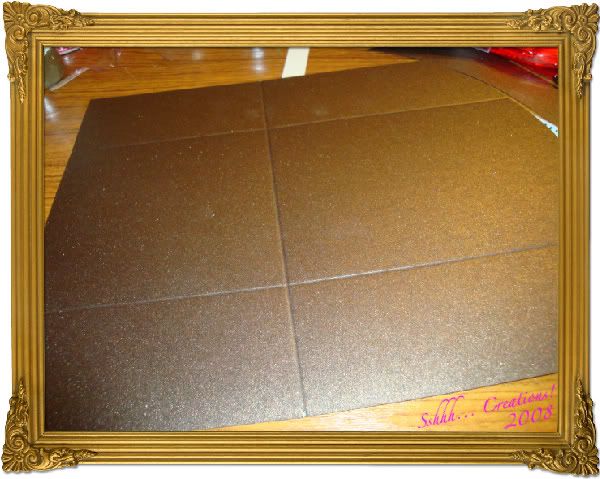
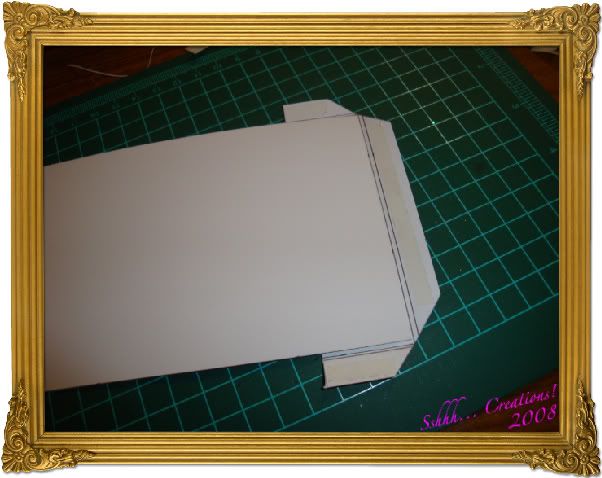
4. Now take your scorboard and sore at the A6 gatefold line along the longest side (or if you don't have a scorboard, then measure and score)
4. 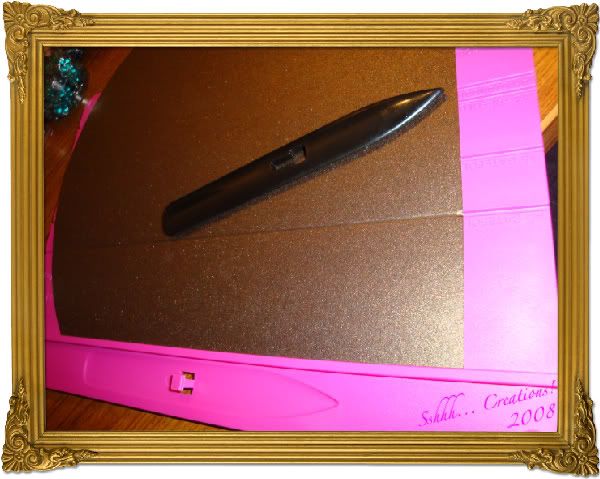
5. Turn your card around and do the same on the other side.
5. 
6. Then measure 11cm from the straight edge and score along that line.
6. 
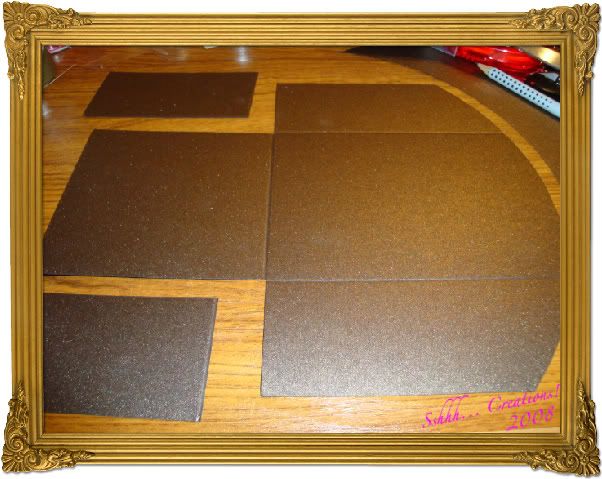
7. Carefully cut out the two rectangles now visible at the sides along the straight edge.
7. 
8. Fold all the score lines and put double sided tape along the edges.
8. 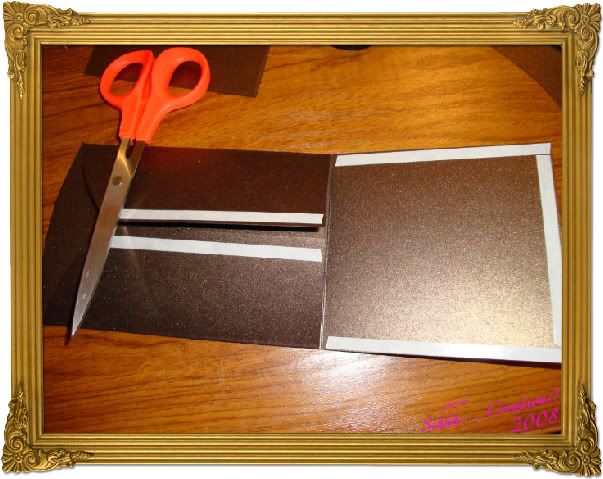
(The scissors are just there to hold down the flaps til I took the photo!)
9. Stick all the flaps down and trim off any bits that are sticking out. Then leave to one side.
9. 
10. Now take a piece of contrasting card - here I'm using gold mirri card - and measure 9.5cm accross. Then take your outter sleeve and line up so as it overlaps the edge of the mirri and your drawn line and the bottom and then draw around the curve (you could cut out a strip of the mirri and put it into the sleeve and draw around the curve then - but I don't like wastage!)
10. 
10. 
11. Again, carefully cut around the shape. make another shape by drawing around this one out of the same card as the outer sleeve or contrasting card.
11. 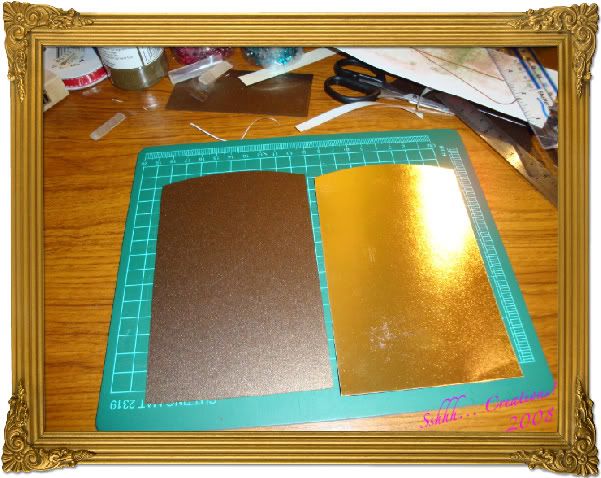
(please ignore the mess at the top of this photo - I am a messy crafter!)
12. Now take another piece of contrasting paper (possibly patterned) and cut out a rectangle measuring 5cm x 11.7cm. Draw and score a line one cm in at the bottom (long side) and at each end. Also score a line 1mm out from this line too as this helps it to fold around the other piece of card.
12. 
13. Cut across the corners of your scored lines and apply DS tape.
13. 
14. Line up the gold mirri piece to the scored lines, fold over and stick in place.
14. 
14. 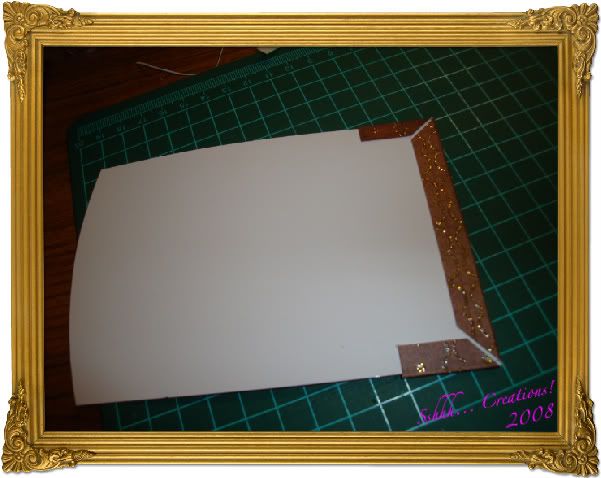
14. This is the front

15. Generously apply wet glue all over the back and attach the other cut out piece. Place under something heavy until dry to keep flat. (this is where my side table top comes in handy again!!)
And here's where the fatal flaw occured. I was called away to do something else ("perfect" I thought, "just when I have it in to dry - it'll be set when I come back!") But when I got back - I forgot to carry on taking photo's, so I'll just have to try to explain the rest!
16. Punch a hole in the middle at the top of the gold mirri piece and thread a small length of ribbon through it and tie in a knot. Also I coloured around the edge of the gold mirri with a gold pentouch pen just to hide the white undercard.
You could also add a tag with names on it to the little pocket bit at the bottom or as I did with this one, cut out a tag and attach it with another bit of ribbon through the first bit of ribbon.
And that's the inner piece done!
17. Back to the outer sleeve. Attach a piece of ribbon across the top where bottom folds up to meet the curve - this just hides the join.
18. Using a glue pen draw around the edge of the curve and add glitter to it - don't forget to do inside the pocket too.
19. Add another tag with the recipients name on it and attach to the front below the opening. You could add some decorative papers or more glitter if you like!
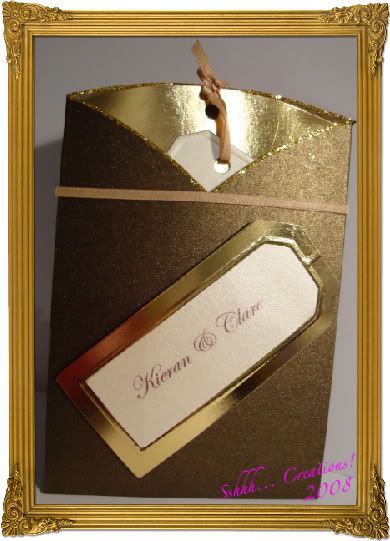
20. Insert the inner sleeve and hey presto, it's finished! And it fits nicely into an A6 envelope.
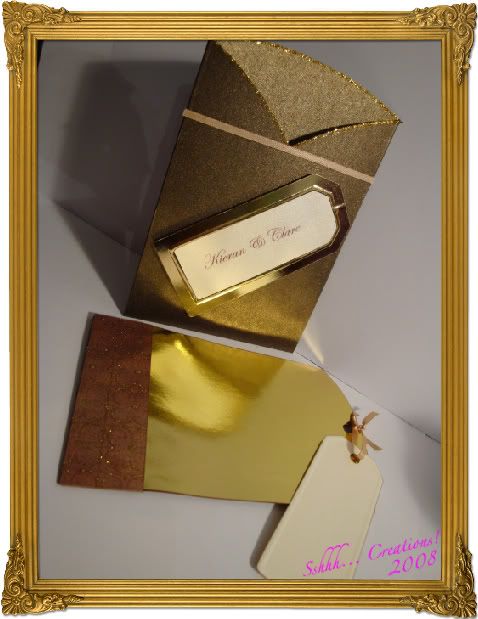
21. Now add a £100 note and post to: Sheena..... (just kidding!!!) (although if you really want to you can contact me and I'll send my details!!!)
Here's a couple of others that I've done


I thought I had more - but I mustn't have taken photo's of them.
I hope you enjoyed this little lesson - even if some of it was missing!
And if anyone makes one - I'd love to see them! ;)
Thanks for looking!
2 comments:
Oooh Sheena, I love it!
I'm useless at following instructions, but with pictures I may just manage this.
I'll give it a try as soon as I get some free time.
Hi sheena, another great tutorial, clear instruction and photo's. Will add this to my list of must do's lol.
Post a Comment